Totoro Crochet Pattern
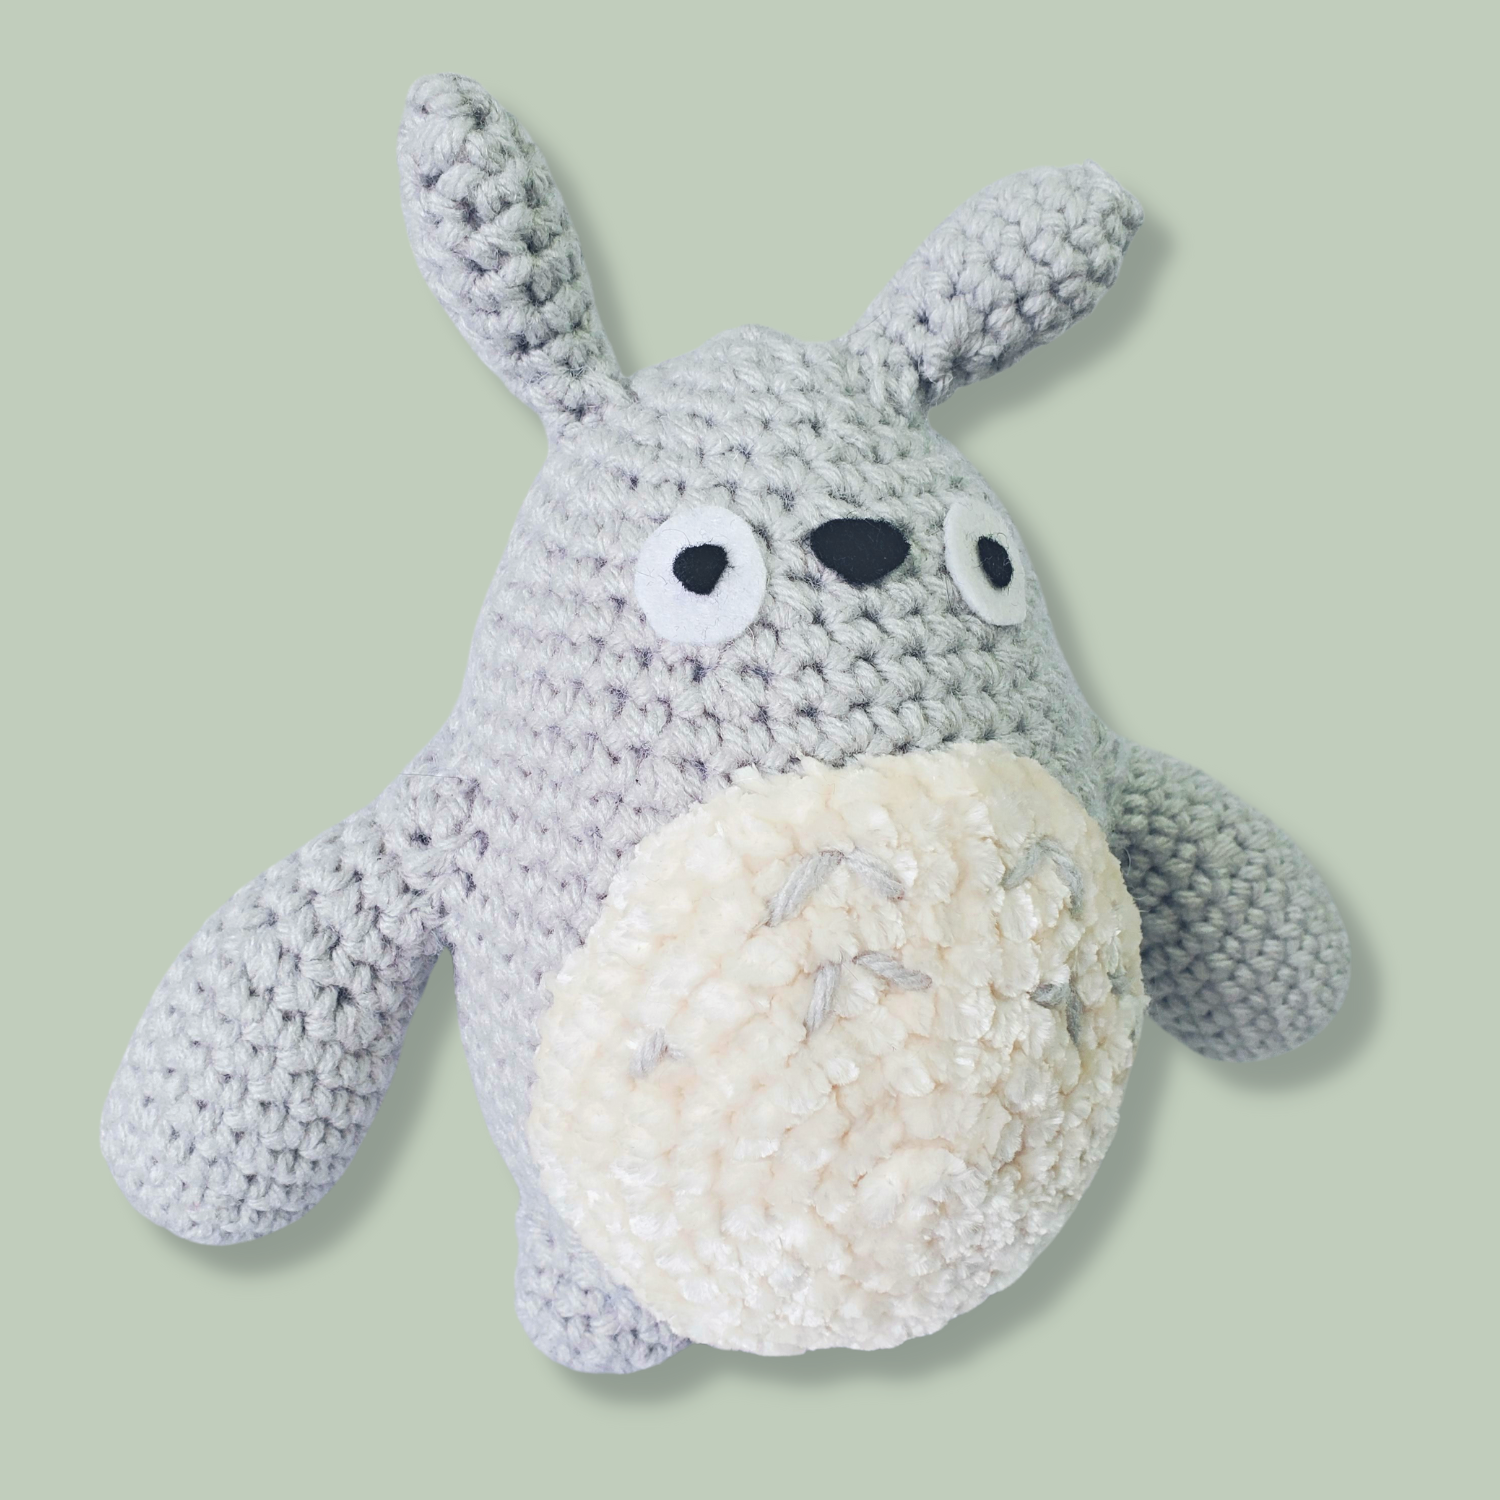
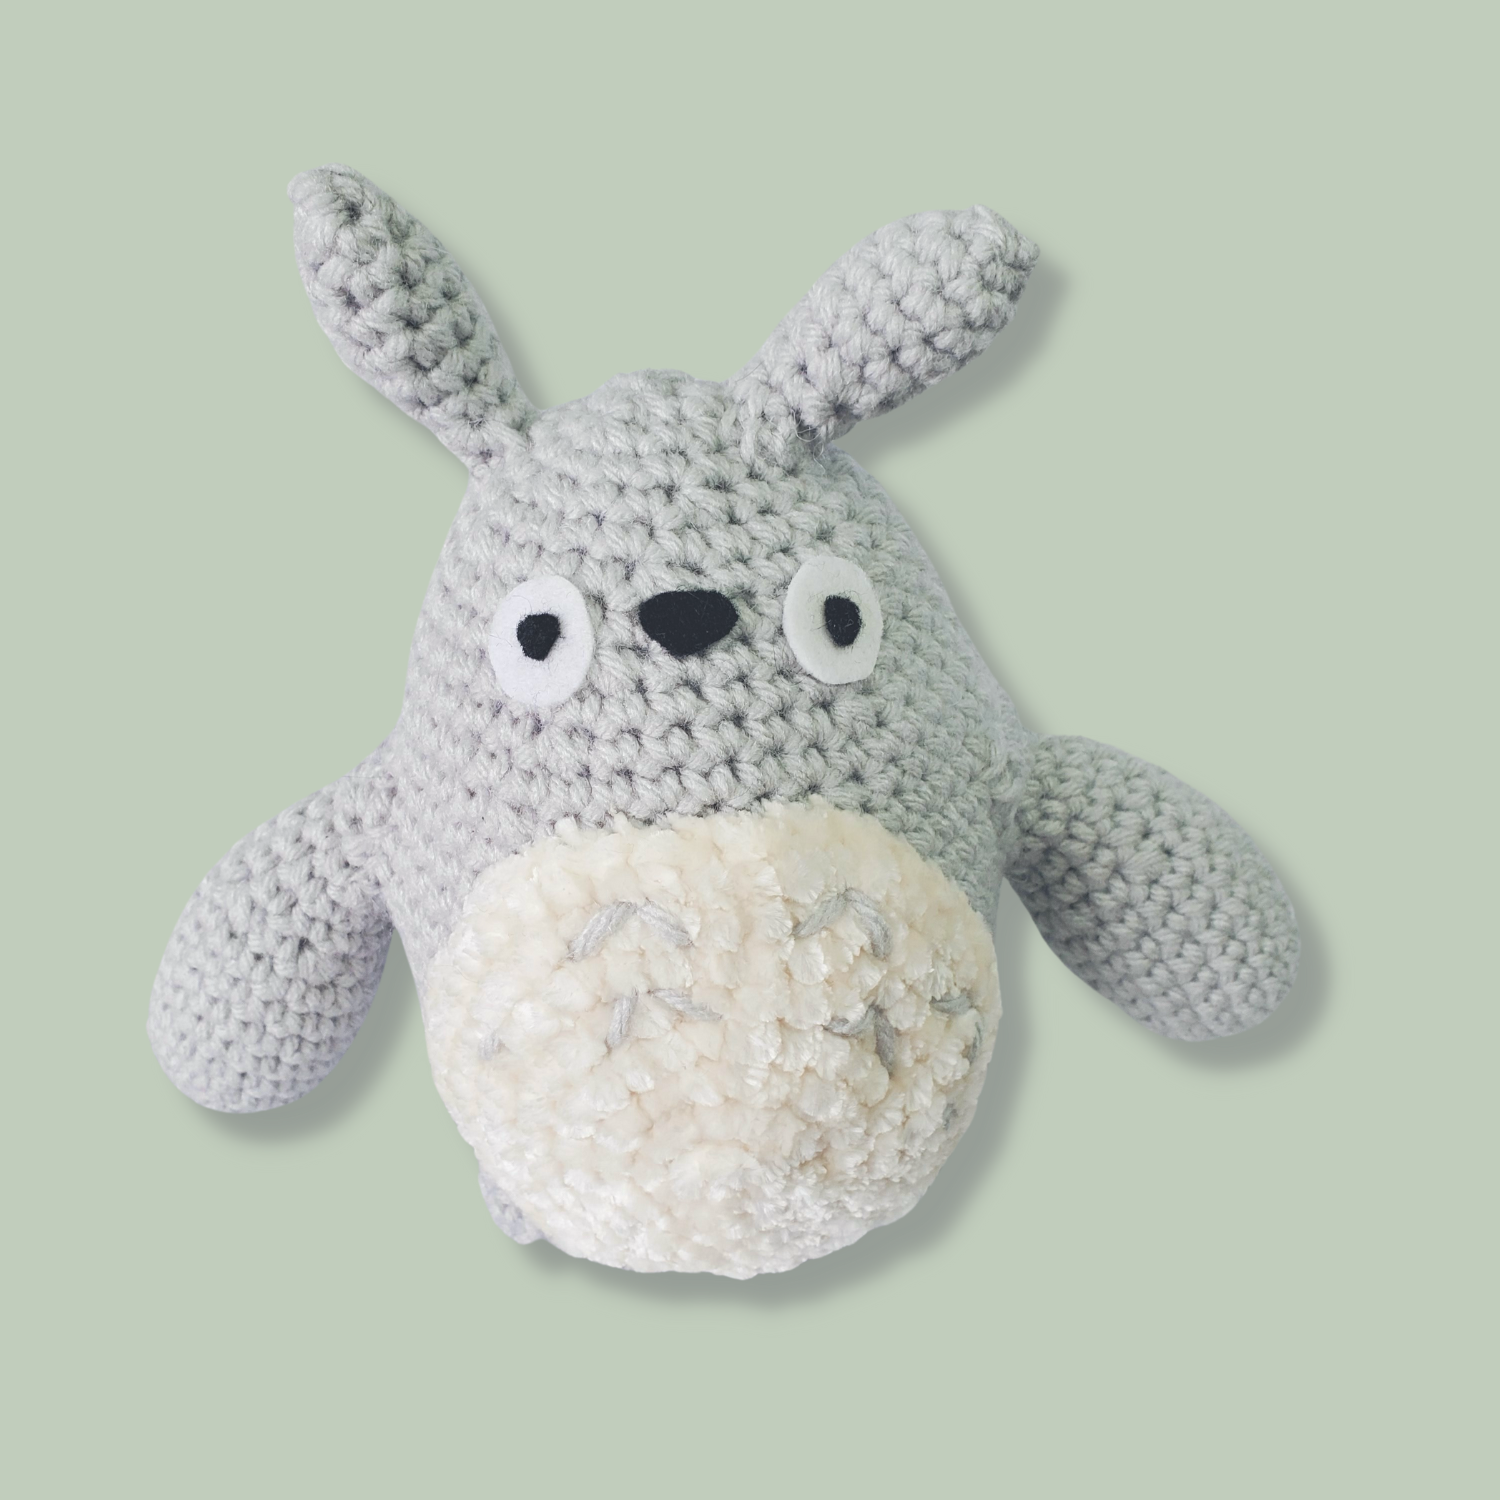
“Totoro? Is that your name?” Crochet your snuggly forest spirit from the Studio Ghibli anime film My Neighbor Totoro. This grey Totoro crochet pattern can be made in a variety of shades and sizes if you adjust your hook gauge and yarn size. Intermediate amigurumi pattern.
Hi everyone!
As an amigurumi artist and lover of video games, anime, and other nerdy and adorable things, it was only a matter of time until I designed a crochet pattern for Studio Ghibli’s mascot: Totoro.
The My Neighbor Totoro crochet pattern is free to use to make your own grey Totoro amigurumi plush.
Like many other millennials, Totoro was my first introduction to Ghibli films. I was very young the first time I watched it. Now as an adult, it’s one of my top comfort movies. I think my parents still have my VHS copy of it somewhere!
Clicking on certain links may result in a small commission for me at no extra cost to you. Money generated from this allows me to continue to design and post cute amigurumi patterns for you all!
Totoro amigurumi
The Totoro amigurumi pattern is for intermediate crocheters. The finished grey Totoro plushie is 7” tall by 8” wide. This pattern is worked in both rounds and rows. Pay close attention to when the crochet pattern tells you you’ll be switching from rounds to rows.
what you’ll need:
1 128g ball of Loops & Threads Impeccable Yarn in Classic Grey (size 4)
1 sheet of white & black felt
Polyfill (stuffing)
Scissors
Sewing pins
Darning needle
Fabric glue
abbreviations:
ch=chain
sc=single crochet
ss=slip stitch
st(s)=stitch(es)
F/O=fasten off
inc=increase
dec=decrease
gauge:
16 stitches x 20 rows = 4” in single crochet
pattern:
Body:
Use grey. Starts at the bottom.
1. ch 2. 6 sc in the first ch. (6 sts)
2. 2 sc in each st around. (12 sts)
3. 1 sc, inc. Repeat around. (18 sts)
4. 2 sc, inc. Repeat around. (24 sts)
5. 3 sc, inc. Repeat around. (30 sts)
6. 4 sc, inc. Repeat around. (36 sts)
7. 5 sc, inc. Repeat around. (42 sts)
8. 6 sc, inc. Repeat around. (48 sts)
9. Sc in each st around. (48 sts)
10 - 21. Repeat 9. (48 sts)
22. 6 sc, dec. Repeat around. (42 sts)
23. Sc in each st around. (42 sts)
24. 5 sc, dec. Repeat around. (36 sts)
25. Sc in each st around. (36 sts)
26. 4 sc, dec. Repeat around. (30 sts)
27. Sc in each st around. (30 sts)
28. 3 sc, dec. Repeat around. (24 sts)
29. Sc in each st around. (24 sts)
30. 2 sc, dec. Repeat around. (18 sts)
Stuff.
31. Sc in each st around. (18 sts)
32. 1 sc, dec. Repeat around. (12 sts)
33. Dec around. (6 sts)
Ss and F/O. Use the tail to sew up the hole at the top of the head.
Ears:
Use grey and starts at the top of the ear.
1. Ch 2. 4 sc into the first ch. (4 sts)
2. Sc in each st around. (4 sts)
3. 2 sc in each st around. (8 sts)
4. Sc in each st around. (8 sts)
5 - 6. Repeat 4. (8 sts)
7. Dec, sc until the last 2 sts, dec. (6 sts)
8 - 9. Sc in each st around. (6 sts)
Stuff. Ss and F/O. Repeat for the 2nd ear and attach to the top of the head near round 31.
Arms:
Use grey. Starts at the hand.
1. Ch 2. 6 sc in the first ch. (6 sts)
2. 2 sc in each st around. (12 sts)
3. 1 sc, inc. Repeat around. (18 sts)
4. Sc in each st around. (18 sts)
5 - 9. Repeat 4. (18 sts)
10. 1 sc, dec. Repeat around. (12 sts)
11 - 13. Sc in each st around. (12 sts)
You’ll now be working in rows instead of in the round.
14. Sc in the next 6 sts. Ch 1 and turn. (6 sts)
15 - 16. Repeat 14. (6 sts)
Stuff. F/O. Leave a long tail to attach the arm to the body at round 22. Repeat for the 2nd arm.
Feet:
Use grey.
1. Ch 2. 4 sc into the first ch. (4 sts)
2. 2 sc in each st around. (8 sts)
3. 1 sc, inc. Repeat around. (12 sts)
4. Sc in each st around. (12 sts)
You’ll now be working in rows instead of in the round.
5. 6 sc, ch 1, and turn. (6 sts)
6. Repeat 5. (6 sts)
Stuff and F/O. Leave a long tail to attach the feet to the bottom of the body at round 4. Repeat for the 2nd foot.
Tail:
Use grey.
1. Ch 2. 6 sc in the first ch. (6 sts)
2. 2 sc in each st around. (12 sts)
3. 1 sc, inc. Repeat around. (18 sts)
4. 2 sc, inc. Repeat around. (24 sts)
5. Sc in each st around. (24 sts)
Stuff, ss, and F/O. Leave a long tail to attach the tail to the bottom of the body at round 5.
Belly:
Use white velvet.
1. ch 2. 6 sc in the first ch. (6 sts)
2. 2 sc in each st around. (12 sts)
3. 1 sc, inc. Repeat around. (18 sts)
4. 2 sc, inc. Repeat around. (24 sts)
5. 3 sc, inc. Repeat around. (30 sts)
6. 4 sc, inc. Repeat around. (36 sts)
7. 5 sc, inc. Repeat around. (42 sts)
8. 6 sc, inc. Repeat around. (48 sts)
Ss and F/O. Leave a long tail to sew the belly onto the front of Totoro’s body. Use any leftover grey yarn scraps to make the triangular markings on the belly with a darning needle.
Face:
Use white and black felt to make the eyes and the nose, and glue them to Totoro using either fabric glue or a hot glue gun.
I hope you enjoy my Totoro crochet pattern. I’ve wanted to design a crochet pattern for the Studio Ghibli mascot for a while now. I’ve been thinking about making a chunky Totoro next. What do you think?
I’d love to see photos of any Totoros you crochet with this free pattern. Tag me on social media @summerbugcrafts.
Don’t forget to save this pattern on Pinterest for later or share it on social media!


