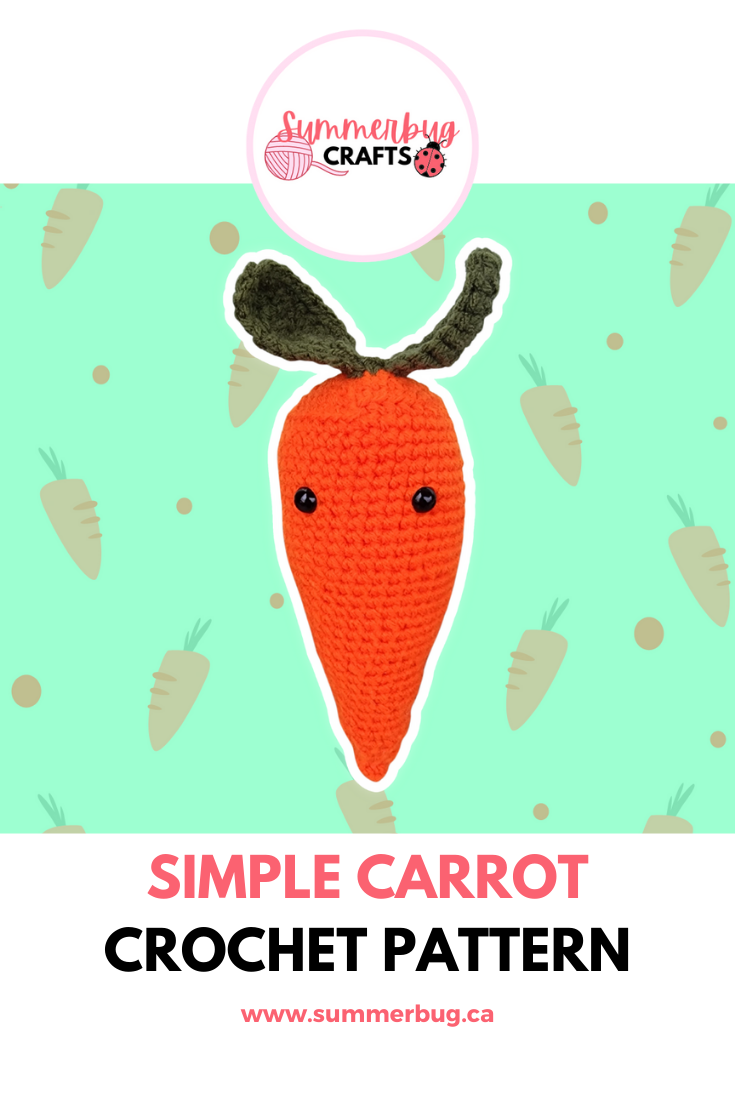
Simple Carrot
This simple carrot is an easy crochet pattern. Perfect for beginners, this amigurumi carrot is perfect to crochet for Easter, a food play basket, and more!
Hi everyone!
Crocheting fruits and veggies are my favorite. When I started making amigurumi, I made a carrot but didn’t write the pattern down. I thought it was finally time to revisit it!
Just in time for Easter (or bookmark this pattern for next year), crochet a simple carrot amigurumi to give as a gift or pair with an adorable rabbit plushie! 100% beginner friendly, this pattern is perfect for learning basic shaping.
Clicking on certain links may result in a small commission for me at no extra cost to you. Money generated from this allows me to continue to design and post cute amigurumi patterns for you all!
Crochet Carrot
The amigurumi carrot is worked in the round and the leaves in rows. A stitch marker and row counter are highly recommended. Use sewing pins to hold the leaves in place while attaching them to the top. A finished carrot measures approximately 8” tall by 3” wide.
What You’ll Need:
1 130g ball of Loops & Threads Impeccable Yarn in Pumpkin
1 130g ball of Loops & Threads Impeccable Yarn in Deep Forest
Polyfill (stuffing)
9mm safety eyes
Scissors
Stitch Marker
Sewing Pins
Darning needle
Abbreviations:
ch=chain
sc=single crochet
ss=slip stitch
st(s)=stitch(es)
F/O=fasten off
inc=increase
dec=decrease
BLO=back loop only
Gauge:
20 stitches x 24 rows = 4” in single crochet
Amigurumi Pattern:
Body:
Starts at the top of the carrot. Use Pumpkin.
1. Ch 2. 6 sc into the first ch. (6 sts)
2. 2 sc in each st around. (12 sts)
3. *1 sc, inc. Repeat from * around. (18 sts)
4. *2 sc, inc. Repeat from * around. (24 sts)
5. *3 sc, inc. Repeat from * around. (30 sts)
6. *4 sc, inc. Repeat from * around. (36 sts)
7. Sc in each st around in the BLO. (36 sts)
8 - 18. Sc in each st around. (36 sts)
Insert the 9mm safety eyes into round 11, approximately 6 sts apart.
19. *5 sc, dec. Repeat from * around. (31 sts)
20 - 22. Sc in each st around. (31 sts)
23. *4 sc, dec. Repeat from * around. (26 sts)
24 - 26. Sc in each st around. (26 sts)
27. *3 sc, dec. Repeat from * around. (21 sts)
28 - 30. Sc in each st around. (21 sts)
Begin stuffing.
31. *2 sc, dec. Repeat from * around. (16 sts)
32 - 34. Sc in each st around. (16 sts)
35. *1 sc, dec. Repeat from * around. (8 sts)
36 - 38. Sc in each st around. (8 sts)
39. Dec around.
Ss and F/O. Use the tail to sew up any remaining hole using the darning needle.
Leaves:
Use Deep Forest & make two.
Worked in rows to start.
1. Create a foundation ch by chaining 9.
2. Ss in the 2nd ch from the hook. Sc in the next ch. Hdc in the next. Dc twice in the next two ch’s. Hdc in the next. Sc in the next. Ss.
3. Repeat row 2 on the other side of the foundation ch.
The rest is worked in the round.
4. Ch 1. Sc in each st around the leave.
Ss and F/O. Leave a long tail to attach the leaf to the top center of the carrot.
You may use this pattern to make plushies and sell them, but please credit me as the pattern designer.
Please take photos of any carrots you make and tag me on social media @summerbugcrafts. I’d love to see how yours turned out and share it with my followers!
Don’t forget to save this pattern to Pinterest for later or share it on social media!


