Measuring Safety Eyes
If you buy your safety eyes in bulk like I do from Amazon, they may not be labeled when they arrive in the mail. Find out what size your safety eyes are by learning how to measure them with my simple tutorial. Video included.
Hi everyone!
Amigurumi safety eyes come in a variety of shapes, sizes, designs, and colors. The question is, how do you know what size of safety eyes you’re using? Today I’m going to walk you through how to measure your safety and craft eyes for crochet amigurumi and doll making. This is a helpful skill for both crocheters and knitters to know!
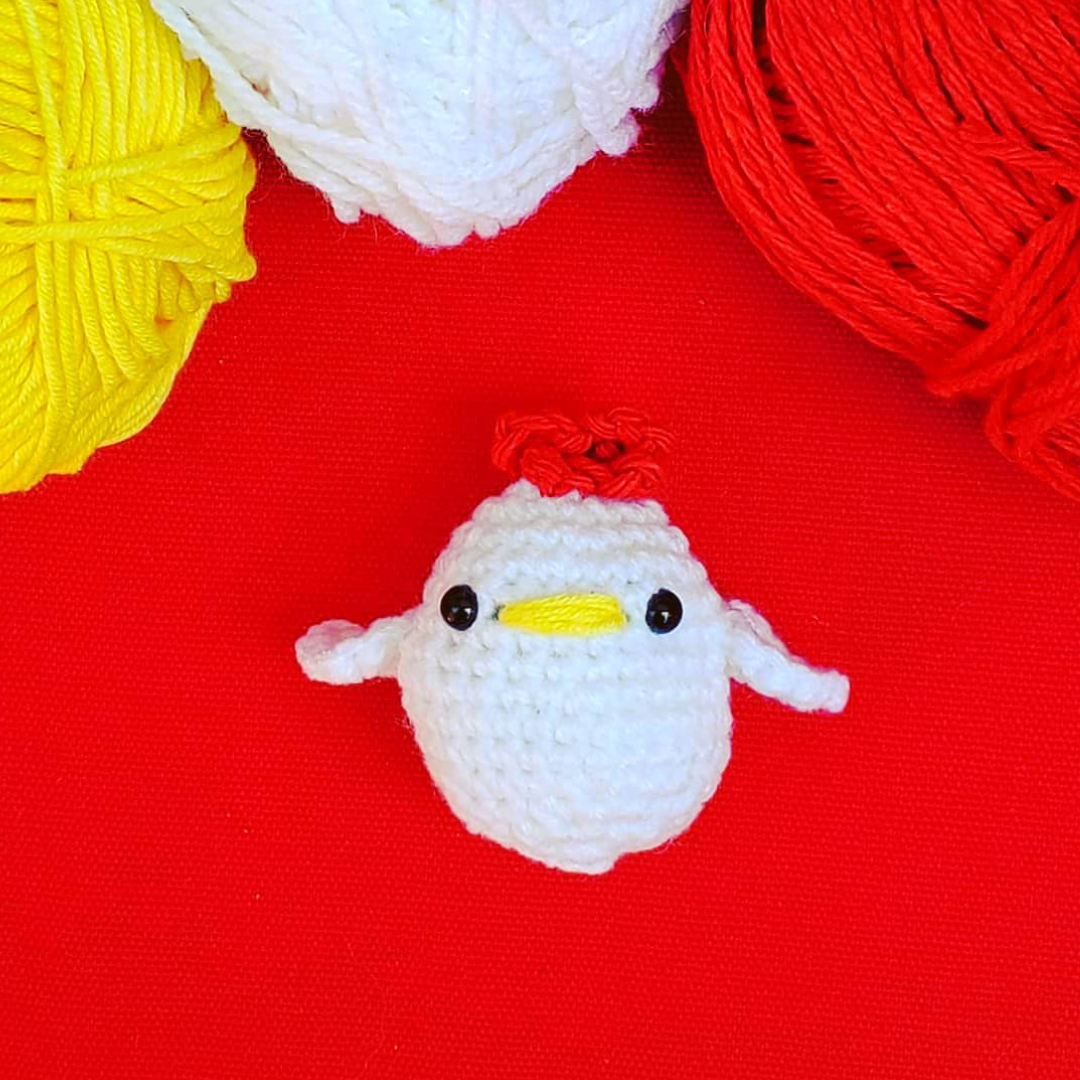
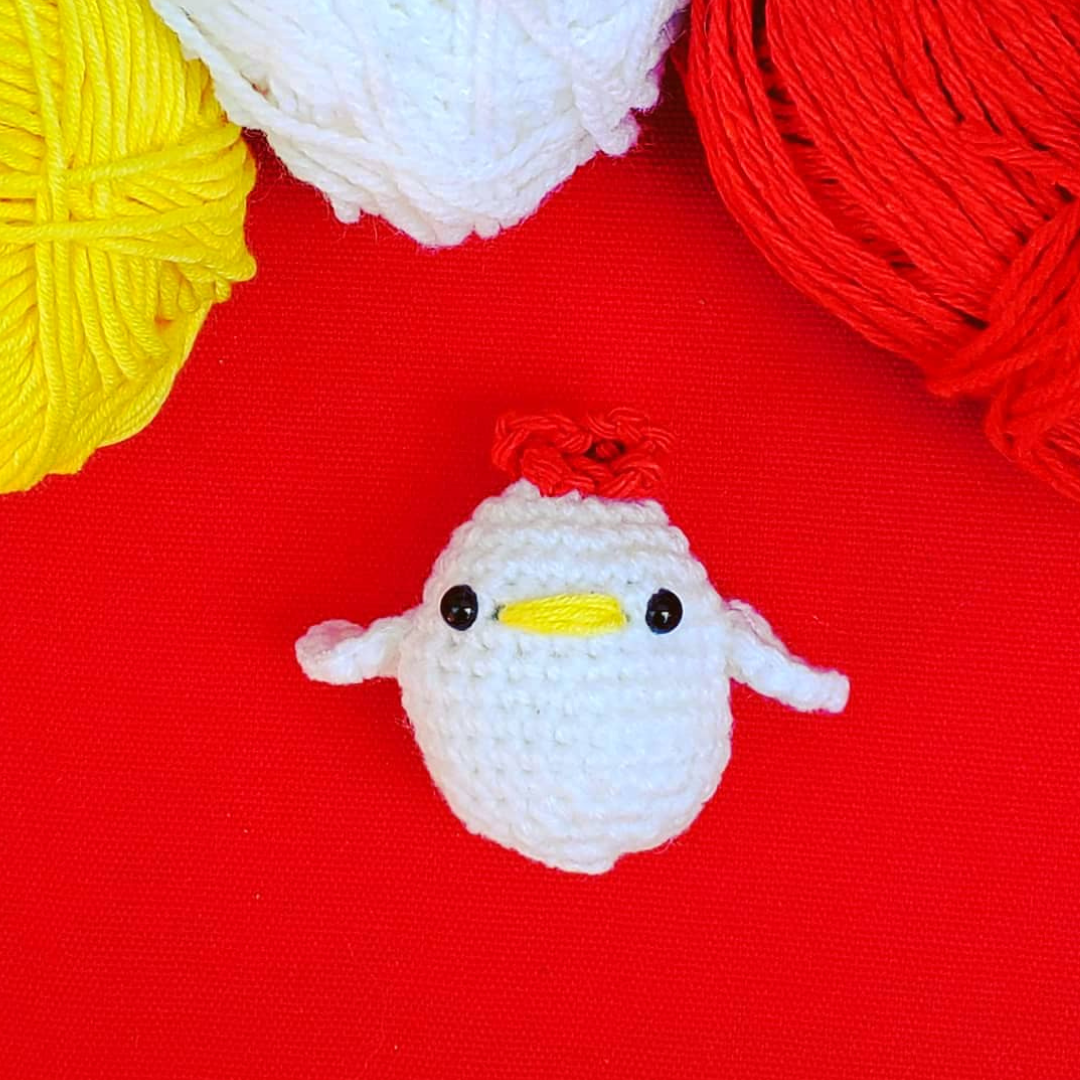
Safety eyes are black plastic eyes that resemble a screw. They are available in various other colors, shapes, and styles, but plain black is the fan favorite. When not using the plain black ones from Amazon, I love to order the “anime eyes” from AdoraEyes on Etsy.
The screw end will be on the inside (or ws) of your amigurumi, while the head of the screw (the eye) will be visible on the outside (rs). These eyes resemble screws and for good reason. The screw end allows you to get it through the fabric/stitches, and then you attach the plastic fastener on this end up and push it up against the fabric tightly.
If installed properly, you shouldn’t be able to pull the eyes or the fastener off, hence the name “safety eyes.” Therefore, these are generally used over buttons nowadays. I’ve been using safety eyes since I started making amigurumi.
Clicking on certain links may result in a small commission for me at no extra cost to you. Money generated from this allows me to continue to design and post cute amigurumi patterns for you all!
How to Measure Safety Eyes
When writing your crochet patterns, it’s good to take notes of the size you used, so that when you publish your pattern later, you can add this information. Being able to inform your customers of what eye size you’re using will allow them to make your product correctly and purchase the supplies needed to make it more efficient. So let’s say you forget what the size is. How do you figure it out? It’s a lot easier than you think! You will need either a knitting gauge or a measuring tape. Safety eyes are measured in millimeters (mm).
Knitting Gauge:
The knitting gauge is quicker to use and just as cheap to purchase as a good measuring tape. I suggest keeping a measuring tape handy if your knitting gauge only goes to 10mm as mine does. If you’re going to be using these eyes a lot and forever buy in bulk like me, I recommend keeping both tools around.
Use a knitting gauge when measuring your eyes, and put the eyes through the holes you would normally use to measure your knitting needles/crochet hook gauge. Once you can fit the eye through the hole perfectly, that’s how big it is. For example, if you can fit your eye perfectly in the spot that measures 8mm gauge, then you have an 8mm safety eye.
Video tutorial on how to measure safety eyes with a knitting gauge
Measuring Tape:
When using a measuring tape to measure safety eyes, you need to use the centimeter side (cm). My tapes have one side for inches and one side for centimeters. For reference, there is 10mm in 1cm.
To measure your safety eye, place the edge of the eye at the line that indicates 0, then count the little lines on the tape (those are for measuring in mm) until you reach the other edge of the eye. This will tell you the size of your safety eye. If you count 12 lines, then your eye is 12mm. See? Simple! If you’re a visual learner like me and find it difficult to follow the written word, I have a video tutorial available on TikTok!
Safety eyes are used over buttons because 1) they look better and 2) are deemed safer than buttons because of how securely they are attached. However, it is still recommended not to give amigurumi plushies made with safety eyes to children under the age of 3. Always use adult supervision.
Knowing how to measure your safety eyes is an invaluable skill to have as both a crocheter and knitter! I hope this tutorial helps in future projects and designs.


