Pumpkin Crochet Pattern
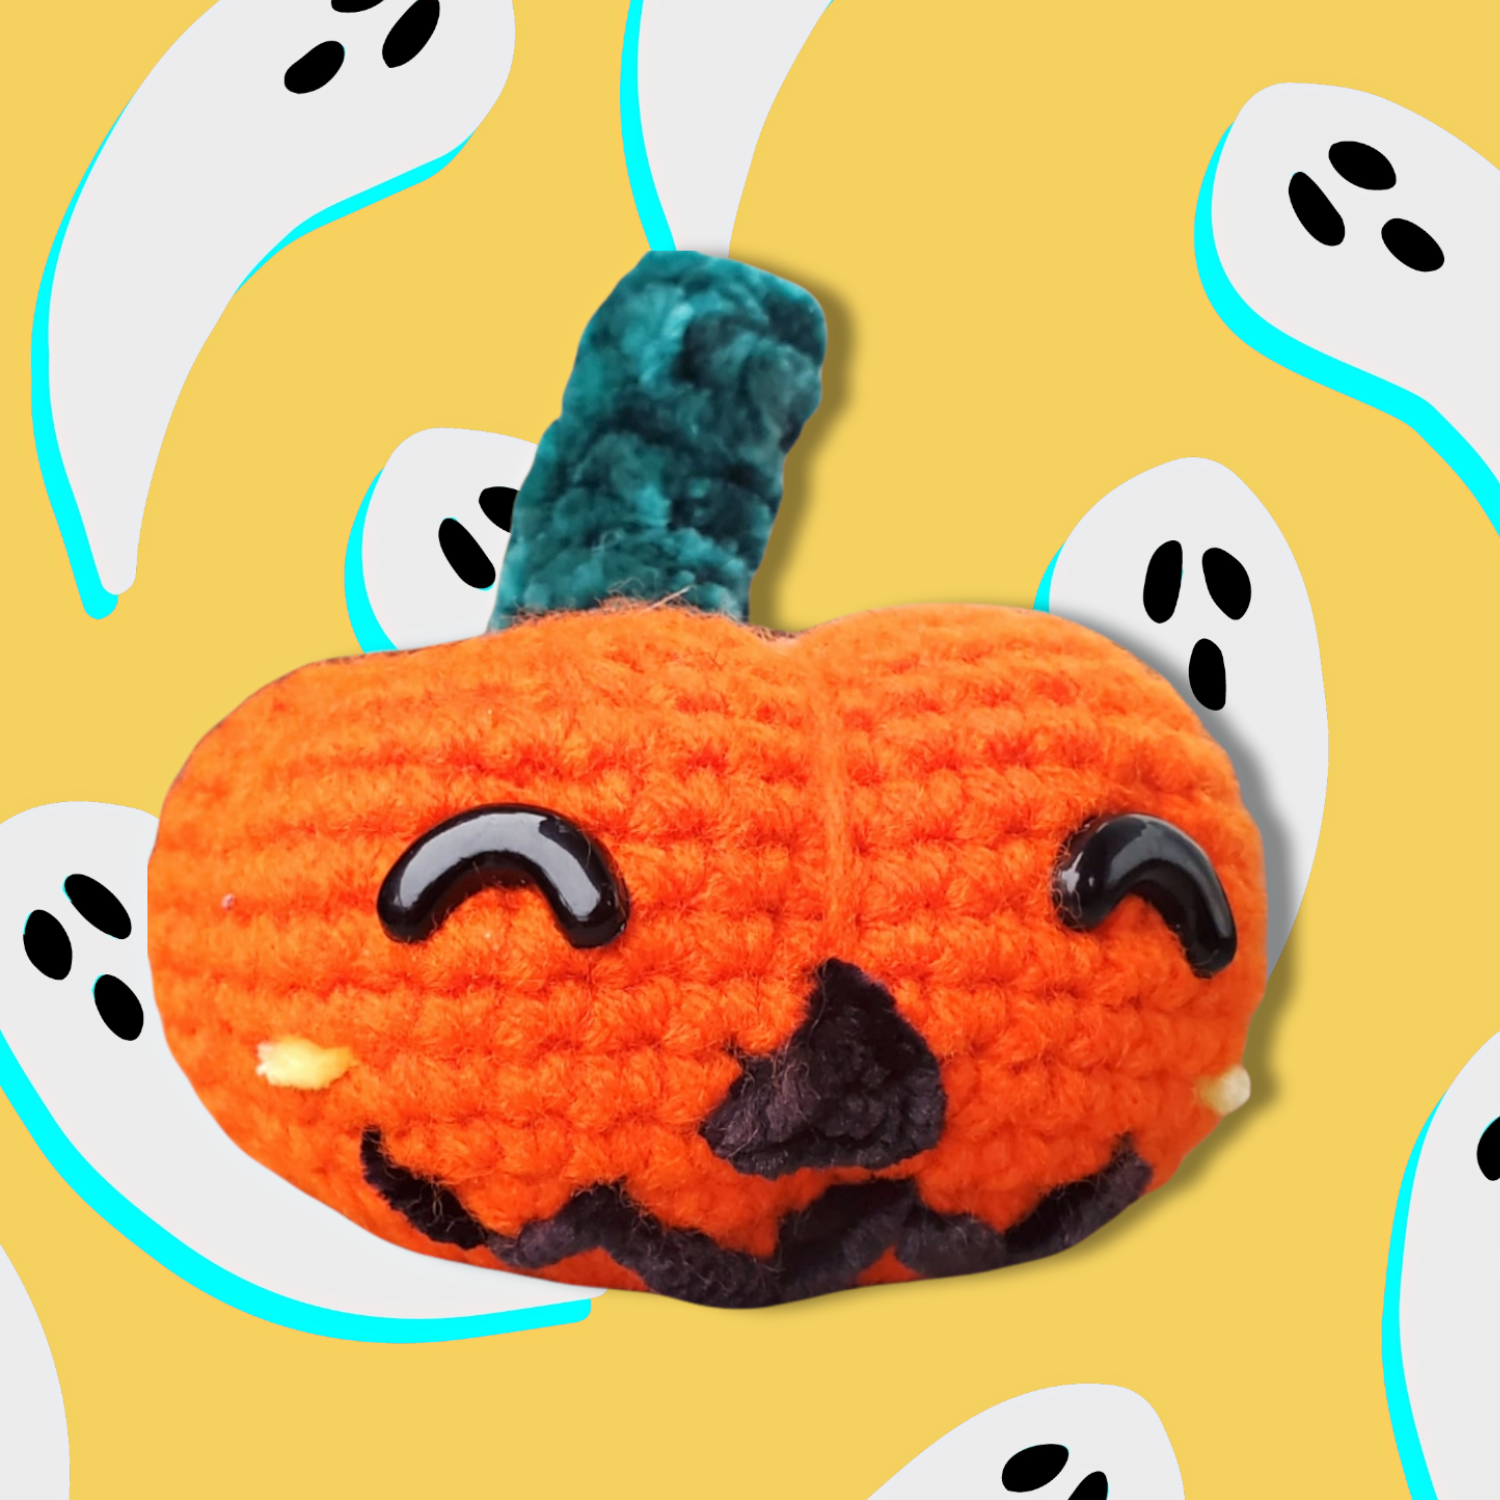
Halloween night is coming! Get in a ghastly spirit and crochet some amigurumi pumpkins with this free pattern by Summerbug Crafts. Add a face for an adorable jack o’ lantern, or keep the pumpkin amigurumi plain for décor.
Hi everyone!
This pumpkin amigurumi isn’t made like your typical crochet pumpkin. This one is made in the round instead of in rows like a classic pumpkin crochet pattern. My free pumpkin amigurumi pattern requires very little assembly besides attaching the stem.
I wanted this pumpkin pattern to stand apart from the decorative ones with the cinnamon stick stems, and I wanted to give my pumpkin a face to resemble a jack O’ lantern.
My amigurumi pumpkin only takes 2 hours to make. It is a very versatile project and can be made in numerous colors with a variety of different faces. You can adjust the tightness of the pumpkin’s indents to have a curvy pumpkin or a more rounded one.
This crochet pumpkin is made using two different sizes of yarn and only one hook size, so even though I consider it a beginner pattern it should get you adjusted to move onto some intermediate patterns.
Clicking on certain links may result in a small commission for me at no extra cost to you. Money generated from this allows me to continue to design and post cute amigurumi patterns for you all!
amigurumi pumpkin
This amigurumi pumpkin pattern is perfect for beginners and works up quickly to make an adorable palm-sized pumpkin. The pumpkin can be made with or without the face and is crocheted in the round. You can use this pattern to crochet a chunky pumpkin with Bernat Softee Chunky yarn in Pumpkin and a 5.00mm crochet hook.
what you’ll need:
1 198g ball of Red Heart Super Saver in Pumpkin
1 300g ball of Bernat Velvet in Velveteal
Scraps of Bernat Velvet in Blackbird and Olive
Polyfill (stuffing)
Stitch marker
Scissors
Yarn needle
abbreviations:
ch=chain
sc=single crochet
inc=increase
dec=decrease
ss=slip stitch
F/O=fasten off
st(s)=stitch(es)
pattern:
Body: Use Red Heart Super Saver in Pumpkin
1. Ch 2. 6 sc in the first ch. Do not join. (6 sts)
2. 2 sc in each st around. (12 sts)
3. *1sc, inc. Repeat from * around. (18 sts)
4. *2 sc, inc. Repeat from * around. (24 sts)
5. *3 sc, inc. Repeat from * around. (30 sts)
6. *4 sc, inc. Repeat from * around. (36 sts)
7. *5 sc, inc. Repeat from * around. (42 sts)
8. *6 sc, inc. Repeat from * around. (48 sts)
9. Sc in each st around. (48 sts)
10 – 14. Repeat round 9.
Insert safety eyes into the 13th round approximately 6 sts apart.
15. *6 sc, dec. Repeat from * around. (42 sts)
16. *5 sc, dec. Repeat from * around. (36 sts)
17. *4 sc, dec. Repeat from * around. (30 sts)
18. *3 sc, dec. Repeat from * around. (24 sts)
Stuff pumpkin.
19. *2 sc, dec. Repeat from * around. (18 sts)
20. *1 sc, dec Repeat from * around. (12 sts)
21. 6 Dec around. (6 sts)
SS and F/O. Leave a long time for sewing the hole and to make indents on the pumpkin.
Shaping/Indenting: Pull your tail through the hole at the top to the bottom and pull. Pull tail back up to the top and pull. This creates the top indent for the stem to sit and gives the bottom some shaping. Next, take the remaining tail and pull it from the top and across the body of the pumpkin to the bottom. Pull the tail up through the bottom and out the top and repeat the above process as much as you want to make the pumpkin the shape you desire.
Face: Embroider nose and mouth with a scrap of velvet yarn in Blackbird and use a scrap of velvet yarn in Olive for the cheek blush.
Stem: Use Velveteal
1. Ch 2. 4 sc in the first ch. Do not join. (4 sts)
2. Sc in each st around. (4 sts)
3 – 6. Repeat round 2.
7. *1 sc, inc. Repeat from * around. (6 sts)
8. *2 sc, inc. Repeat from * around. (8 sts)
9. *3 sc, inc. Repeat from * around. (10 sts)
Ss and F/O. Lightly stuff. Leave a long tail and attach it to the top indent of the pumpkin. Don’t forget to weave in your ends.
If you can’t carve pumpkins this year, this may be a way for you to feel connected to tradition. I hope you enjoy this free pumpkin crochet pattern!
I hope you enjoyed this free pumpkin amigurumi pattern. I would love to see any that you’ve made! Please tag me on social media @summerbugcrafts/#summerbugcrafts so I can see and share your makes!
Don’t forget to save this pattern to Pinterest for later or share it on social media!


